
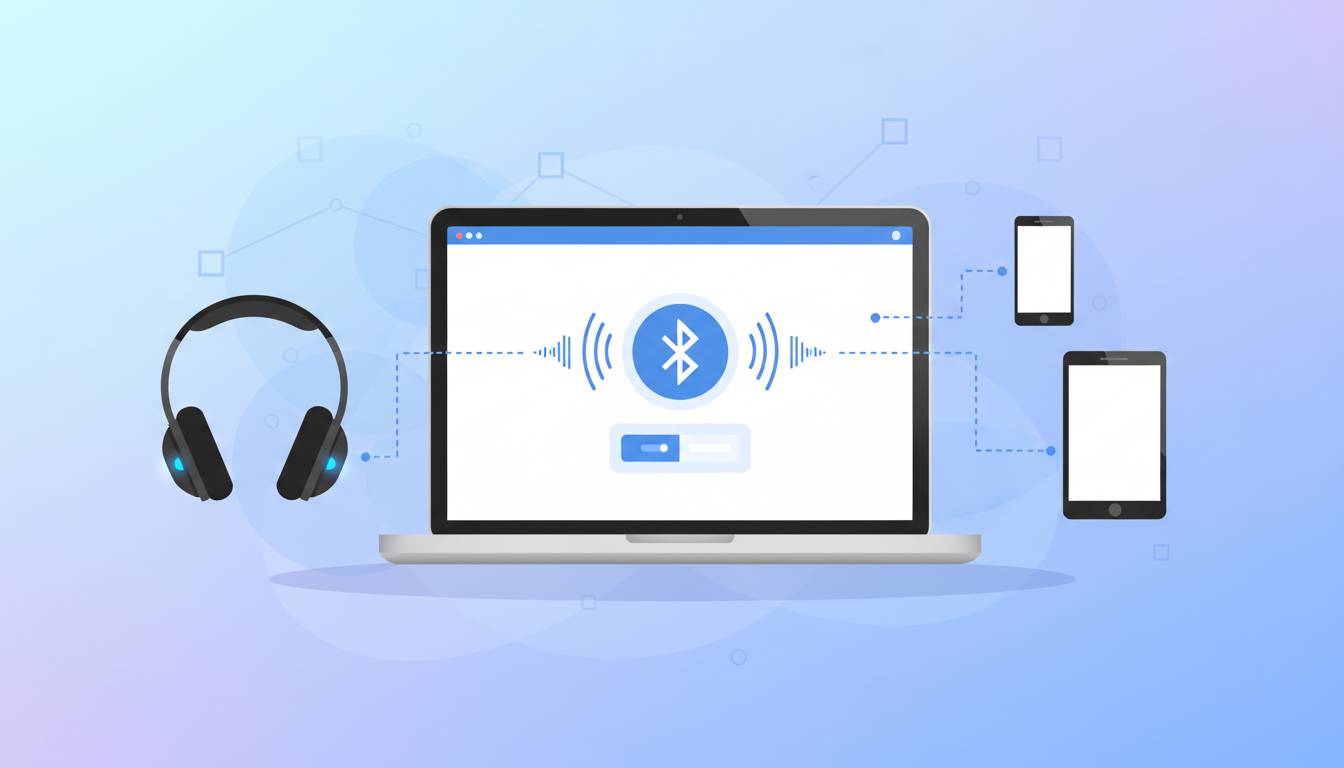
Connecting Bluetooth headphones to your laptop opens up a world of wireless convenience, whether you’re taking video calls, listening to music, or watching movies without disturbing others. While the process is straightforward, different laptop operating systems and headphone models can sometimes make it feel confusing. This guide walks you through every step, from checking your laptop’s Bluetooth capability to troubleshooting common connection issues.
Checking If Your Laptop Has Bluetooth
Before attempting to connect your headphones, you need to verify that your laptop actually has Bluetooth functionality. Most modern laptops come with built-in Bluetooth, but some older models or budget options may not include this feature.
For Windows laptops:
- Press the Windows key + X on your keyboard
- Select “Device Manager” from the menu
- Look for “Bluetooth” in the list of hardware
- If you see Bluetooth listed, your laptop has the capability
You can also check by typing “Bluetooth” into the Windows search bar and selecting “Bluetooth and other devices settings.” If Bluetooth settings appear, you’re good to go.
For MacBooks and iMacs:
All MacBooks released since 2012 have Bluetooth built in. You can verify this by clicking the Apple menu, selecting “About This Mac,” and clicking “More Info.” Under “Hardware,” look for Bluetooth information.
If your laptop doesn’t have built-in Bluetooth, you can purchase a USB Bluetooth adapter for around $10-25. These small devices plug into a USB port and add Bluetooth functionality to any computer.
Enabling Bluetooth on Your Laptop
Once you’ve confirmed your laptop has Bluetooth, the next step is making sure it’s turned on. The process differs slightly between operating systems.
Enabling Bluetooth on Windows 10 and 11
Windows 11:
- Click the Start button or press the Windows key
- Click the quick settings icon (usually aWi-Fi/sound symbol) in the bottom right corner
- Look for the Bluetooth icon in the quick settings panel
- If it’s off, click it to enable Bluetooth
- Alternatively, go to Settings > Bluetooth & devices and toggle Bluetooth on
Windows 10:
- Click the notification icon in the bottom right corner of your screen
- Look for the Bluetooth tile in the Action Center
- Click it to turn Bluetooth on
- You can also enable it through Settings > Devices > Bluetooth & other devices
When Bluetooth is enabled, you should see the Bluetooth icon appear in your system tray at the bottom right of your screen.
Enabling Bluetooth on macOS
On a Mac, Bluetooth is typically always on, but you can verify or enable it through System Settings:
- Click the Apple menu and select “System Settings”
- Click “Bluetooth” in the sidebar
- Make sure Bluetooth is turned on
- You can also access quick controls by clicking the Control Center icon in the menu bar
Preparing Your Bluetooth Headphones for Pairing
Now that your laptop’s Bluetooth is enabled, you need to put your headphones in pairing mode. This allows your laptop to discover the headphones.
Standard pairing mode steps (most brands):
- Make sure your headphones are fully charged or have fresh batteries
- Turn off the headphones if they’re currently on
- Press and hold the power button for several seconds (usually 5-10 seconds)
- Look for a flashing LED light—typically blue and red alternating, or a rapidly blinking blue light
- The flashing light indicates pairing mode is active
Specific brand instructions:
- Sony headphones: Press and hold the power button until you hear “Bluetooth pairing”
- Apple AirPods: Open the charging case lid near your Mac—the AirPods should automatically appear
- Bose headphones: Press and hold the power button until you hear “Ready to pair” or see the Bluetooth light flash
- Samsung Galaxy Buds: Open the case and keep the earbuds inside, then press and hold both touchpads for a few seconds
- JBL headphones: Press and hold the power button for about 3 seconds until the LED flashes blue
If you’re unsure about your specific model, check the user manual that came with your headphones. Most manufacturers also provide detailed instructions on their websites.
Connecting Bluetooth Headphones to Windows
With Bluetooth enabled on your laptop and your headphones in pairing mode, you’re ready to connect them.
Windows 11 Connection Steps
- Go to Settings > Bluetooth & devices
- Click “Add device” at the top of the page
- A new window will appear showing available devices
- Select “Bluetooth” as the device type
- Wait for your headphones to appear in the list—this usually takes 10-30 seconds
- Click on your headphones when they appear
- If prompted for a PIN or passcode, try entering “0000” or “1234”—most Bluetooth devices use these default codes
- Click “Connect” to complete the pairing
Once connected, you’ll hear a confirmation sound in your headphones, and the device will show “Connected” in your Bluetooth settings.
Windows 10 Connection Steps
- Open Settings > Devices > Bluetooth & other devices
- Make sure Bluetooth is turned on
- Click “Add Bluetooth or other device”
- Select “Bluetooth”
- Find your headphones in the list and click them
- Enter the pairing code if prompted
- Click “Done” when the connection is successful
Connecting Bluetooth Headphones to Mac
Mac users have a slightly different but equally simple process for connecting Bluetooth headphones.
macOS Connection Steps
- Click the Control Center icon in the menu bar (or use the Apple menu > System Settings)
- Select “Bluetooth”
- Make sure Bluetooth is turned on
- Your Mac will automatically search for nearby Bluetooth devices
- Under “Nearby Devices,” you should see your headphones appear
- Click on your headphones to initiate pairing
- If asked to pair, confirm by clicking “Pair”
- A checkmark will appear next to your headphones once connected
For AirPods, the process is even simpler—just open the AirPods case near your Mac, and a connection prompt will appear on your screen. This works because AirPods and Macs share the same Apple ecosystem.
Setting Your Headphones as the Default Audio Device
After connecting your headphones, you may need to set them as the default audio output to hear sound through them rather than your laptop’s speakers.
Windows
- Right-click the speaker icon in the system tray
- Select “Open Sound settings”
- Under “Output,” click the dropdown menu
- Select your headphones from the list
For more control, go to Settings > Sound > Output and choose your headphones. You can also access advanced settings by right-clicking the speaker icon and selecting “Sounds” > “Playback” tab.
macOS
- Click the Control Center in the menu bar
- Click “Sound”
- Select your headphones under “Output Device”
Alternatively, go to System Settings > Sound and choose your headphones from the Output Device section.
Troubleshooting Common Bluetooth Connection Issues
Even with straightforward technology, problems can occur. Here are solutions for the most common issues.
Headphones Not Appearing in the List
Solutions:
- Make sure your headphones are in pairing mode (the LED should be flashing)
- Move your headphones closer to your laptop
- Turn off and on again—both your headphones and your laptop’s Bluetooth
- Disconnect other Bluetooth devices that might be causing interference
- Check if your headphones are already connected to another device (phone, tablet) and disconnect them
Connection Keeps Dropping
Solutions:
- Ensure your headphones are within range—typically 30 feet for most Bluetooth devices
- Check your headphone battery level; low battery can cause disconnections
- Remove your headphones from your laptop’s Bluetooth list and re-pair them
- Update your Bluetooth drivers (Windows) or macOS (Mac)
- Reduce interference from other wireless devices
Poor Audio Quality
Solutions:
- Check that your headphones are set as the default output device
- Reduce the distance between your laptop and headphones
- Close other applications that might be using audio
- Update your audio and Bluetooth drivers
- Some headphones support different audio codecs—check your headphone settings for codec options
No Sound After Connecting
Solutions:
- Verify the volume isn’t muted on both your laptop and headphones
- Make sure the headphones are selected as the output device in sound settings
- Try disconnecting and reconnecting the headphones
- Restart your laptop—this often resolves audio routing issues
Tips for the Best Bluetooth Experience
Getting the most out of your wireless headphones involves more than just basic connectivity.
Keep your drivers updated: Manufacturers regularly release Bluetooth driver updates that improve stability and performance. Check for updates through Windows Update or your laptop manufacturer’s support website.
Manage multiple devices: If you pair your headphones with multiple devices (phone, tablet, laptop), your laptop might connect to a different device automatically. You can adjust this in your Bluetooth settings by removing devices you don’t want to auto-connect.
Understand audio codecs: Higher-quality audio codecs like aptX, AAC, or LDAC provide better sound but require both your headphones and laptop to support them. Check your laptop’s Bluetooth settings to see which codecs are available.
Use airplane mode strategically: If you’re experiencing persistent interference, try turning off Wi-Fi briefly while using your headphones, as Wi-Fi and Bluetooth can sometimes interfere with each other.
Frequently Asked Questions
Why won’t my laptop find my Bluetooth headphones?
Make sure your headphones are in pairing mode (the LED should be flashing). Also verify that Bluetooth is turned on in your laptop settings and that the headphones are close to your laptop. Try turning off other nearby Bluetooth devices to reduce interference.
Can I connect multiple Bluetooth devices to my laptop at once?
Yes, you can connect multiple Bluetooth devices, but your laptop can typically only use one audio output device at a time. You can pair several devices (keyboard, mouse, headphones) but will need to switch between them for audio.
How do I disconnect my Bluetooth headphones from my laptop?
On Windows, go to Settings > Bluetooth & devices, find your headphones, and click “Disconnect.” On Mac, go to System Settings > Bluetooth and click the disconnect button next to your headphones. You can also simply turn off the headphones.
Why is there audio lag when using Bluetooth headphones?
Audio lag (latency) is common with Bluetooth connections. To minimize it, keep your headphones close to your laptop, reduce wireless interference, and ensure your Bluetooth drivers are updated. Some headphones have a “game mode” or low-latency setting designed to reduce delay.
How do I forget a Bluetooth device on my laptop?
On Windows, go to Settings > Bluetooth & devices, select your headphones, and click “Remove device.” On Mac, go to System Settings > Bluetooth, right-click or Control-click on the device, and select “Forget This Device.”
Do all laptops support Bluetooth?
Most modern laptops have built-in Bluetooth, but some older or very budget-friendly models may not. You can check in Device Manager (Windows) or System Information (Mac). If your laptop lacks Bluetooth, you can purchase a USB Bluetooth adapter to add this functionality.
Conclusion
Connecting Bluetooth headphones to your laptop is a straightforward process that takes just a few minutes once you know the steps. Remember to check that your laptop has Bluetooth capability, enable it in your settings, put your headphones in pairing mode, and then select them from the available devices list. Setting them as your default audio output ensures you’ll hear sound through the headphones instead of your speakers.
If you encounter issues, the troubleshooting steps above should resolve most common problems—typically, simply turning Bluetooth off and on again or re-pairing the devices fixes connection issues. With your Bluetooth headphones successfully connected, you can enjoy the freedom of wireless audio for all your laptop activities, from video calls to entertainment.


Leave a comment